What you will need
Patch kit (optional)
Taking the wheel off the bike
The first thing to do is to remove the wheel. To do this, release the brakes, unscrew the quick release skewer and the wheel should simply drop out.
- For rear wheel punctures put the bike into the small front chainring, and the smallest cog on the back. This will give the chain some slack and make it easier to get the rear wheel off. You will also need to pull back the rear derailleur to allow the wheel to come out.
Removing the tube
Remove the dust cap and lock ring from the valve tube if you have either of those two things.
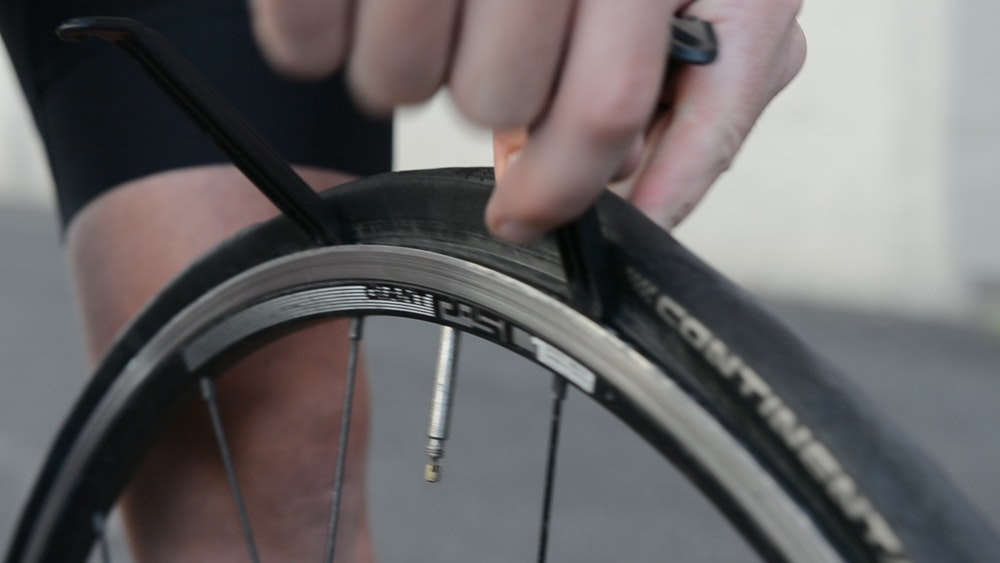
Get out your tyre levers and place them 10-15cm apart from each other. Hook the tyre levers under the bead of the tyre. Once they are in, push them down to pull the bead over the rim wheel.
- Depending on your tyre, 2 levers may be enough to release the tyre, but some tighter tyres will require three.

Run one of the tyre levers around the rest of the tyre, pulling the tyre bead over the wheel rim as you go.
Take the tube out whilst leaving the tyre on the wheel. Pull the tube from the valve first, so as to not damage the valve hole.
- Don't leave the tube on the side of the road for someone else to pick up. Either store it away in your jersey pocket or dispose of it in the nearest bin.
Checking the tyre

Once the tube is out, make sure you thoroughly check the tyre for anything that may have caused the puncture: glass, grit, thorns, tacks, nails etc...
If you find anything, remove it from the tyre but don't assume that is it... Check the whole tyre so that you are certain there is nothing left in there that could cause another puncture. There's nothing worse than changing a flat tyre then having to do the whole process again 1km down the road because the piece of glass that caused the first puncture is still in there.
Run your finger on the inside of the tyre feeling for anything that shouldn't be there. Do this slowly and methodically, if something was able to cut through your tyre, it could easily do the same to your finger.
Once you are satisfied there is nothing left in your tyre, it's time to put in the new tube.
The new tube
Take out your new tube and put some air into it so it has some shape before you put attempt to put it onto the wheel. If you have a hand-held pump that will do the trick, if not, just blow into it like a balloon.
- This will help the tube keep its shape, making it easier to get around the wheel while also avoiding any pinching due to it getting stuck under the tyre bead.
Put the valve in first and slowly tuck the tube under the tyre until all of it is inside the tyre and no part of the tube can be seen.
It's very important at this point that there is no sign of the tube, especially if you plan on using a CO2 cartridge to pump up the tyre. If there is any part of the tube outside of the tyre, it will expand and bulge as it inflates and almost certainly pop. If it doesn't happen straight away, it definitely will once you start riding.
- Try to get the tyre on with your hands and avoid using the tyre levers unless you absolutely have to. Using the tyre levers will increase the chances of tearing the new tube, or pinching it.
Are you using a patch kit?
If so, the process is slightly different but equally as simple.
Find the source of the flat in the tube. This can easily be done by inflating the tube and listening for air is coming out. Once you have found the cause of the flat, roughen the surface (most patch kits will come with either a small square of sandpaper or another course material). This will give the glue and patch something to adhere to.
Apply the glue (if you have it) or remove the backing from the patch and apply to the area. Hold this in place for at least 60 seconds. Once you are satisfied the patch is secure on the tube, it's time to inflate.
Pump it

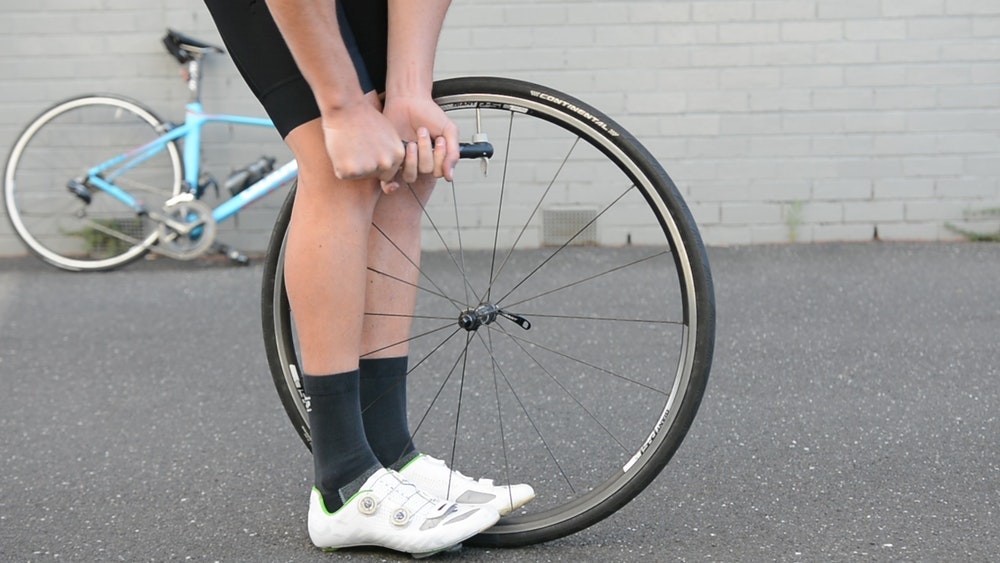
Pump up the tube with a hand-held pump to the desired pressure (or whatever you can get it too).
- Most hand-held pumps will only allow you to get up to 80-90 PSI, which is more than enough to get you home.
If you have a CO2 cartridge, check again that you can't see the tube and it is securely in place. Attach the cartridge and let it do its magic.

Put the wheel back on
Place the front wheel back into the dropouts, tighten the quick release skewer and the brakes and you are ready to go.
For the back wheel, move the rear derailleur out of the way and follow the same process. Tighten the quick release skewer, brakes on, then do a quick run through the gears to make sure they are where they should be.
- If you put the chain back on the cog you took it off from, you shouldn't have any worries.
Ride off into the sunset, or to your nearest bike shop for some new tubes.
Glossary
Tyre levers - Plastic levers that assist in changing a tyre. Normally come in packs of three and have a flat end and a hook end.
CO2 Cartridge - Small metal containers of compressed CO2.
CO2 Inflator - Tool that attaches to the tube valve and inflates a tube / tyre. CO2 cartridges will either screw onto the CO2 inflator or press into them to release CO2.
Quick release skewer - Attaches the wheel to the bicycle.
Tyre Bead - The edge of the tyre which is typically very strong and robust to prevent the tyre from coming away from the wheel rim.
Rear Derailleur - Mechanism on bicycles to chain gears by moving the chain from one sprocket to another.
Dust Cap - A small plastic cap that goes on top of the valve tube.
Lock Ring - A small ring that screws onto the valve of a tube to prevent it from moving around the wheel.
PSI - Unit of measurement for tyre pressure. Measured in 'Pounds per Square Inch'
Follow BikeExchange: Email | Facebook | Twitter | Instagram | YouTube


